Archives

Fun in Ancient Greece

Greek 0

For the past few months, our history studies have focused on Ancient Greece.  We read some great books and tales and had some fun along the way.

Greek E

Books We Read:

Story of the Greeks by Guerber, published by Nothing New Press

Usborne’s Ancient World

A City Through Time by Philip Steele

Pegasus by Marianna Mayer

D’Aulaire’s Greek Myths

Trojan Horse by Warwick Hutton

Hour of the Olympians by Mary Pope Osborne

You Wouldn’t Want to Be a Greek Athlete

The Librarian Who Measured the Earth

Tanglewood Tales by Nathaniel Hawthorne

Damon Pythias and the Test of Friendship

Mary Pope Osborne’s Tales from the Odyssey  (and they are making their own personal comic books based on this book)Greek 1

Activities We Did:

1. We ate fig newtons (that’s totally authentic, what are you talking about?), grapes, bread & cheese

2. We held a Family Olympic Games with a Torch Run, a Rock Throwing Contest, a Long Jump Contest, and a Ball Toss.

Olympics Torch Run

Olympic Games3.  After looking through Usborne’s Ancient World at the examples of pottery we saw, we created our own Greek inspired pottery using clay planting pots and black acrylic paint.

Greek B

Greek 2

Greek C

Greek D

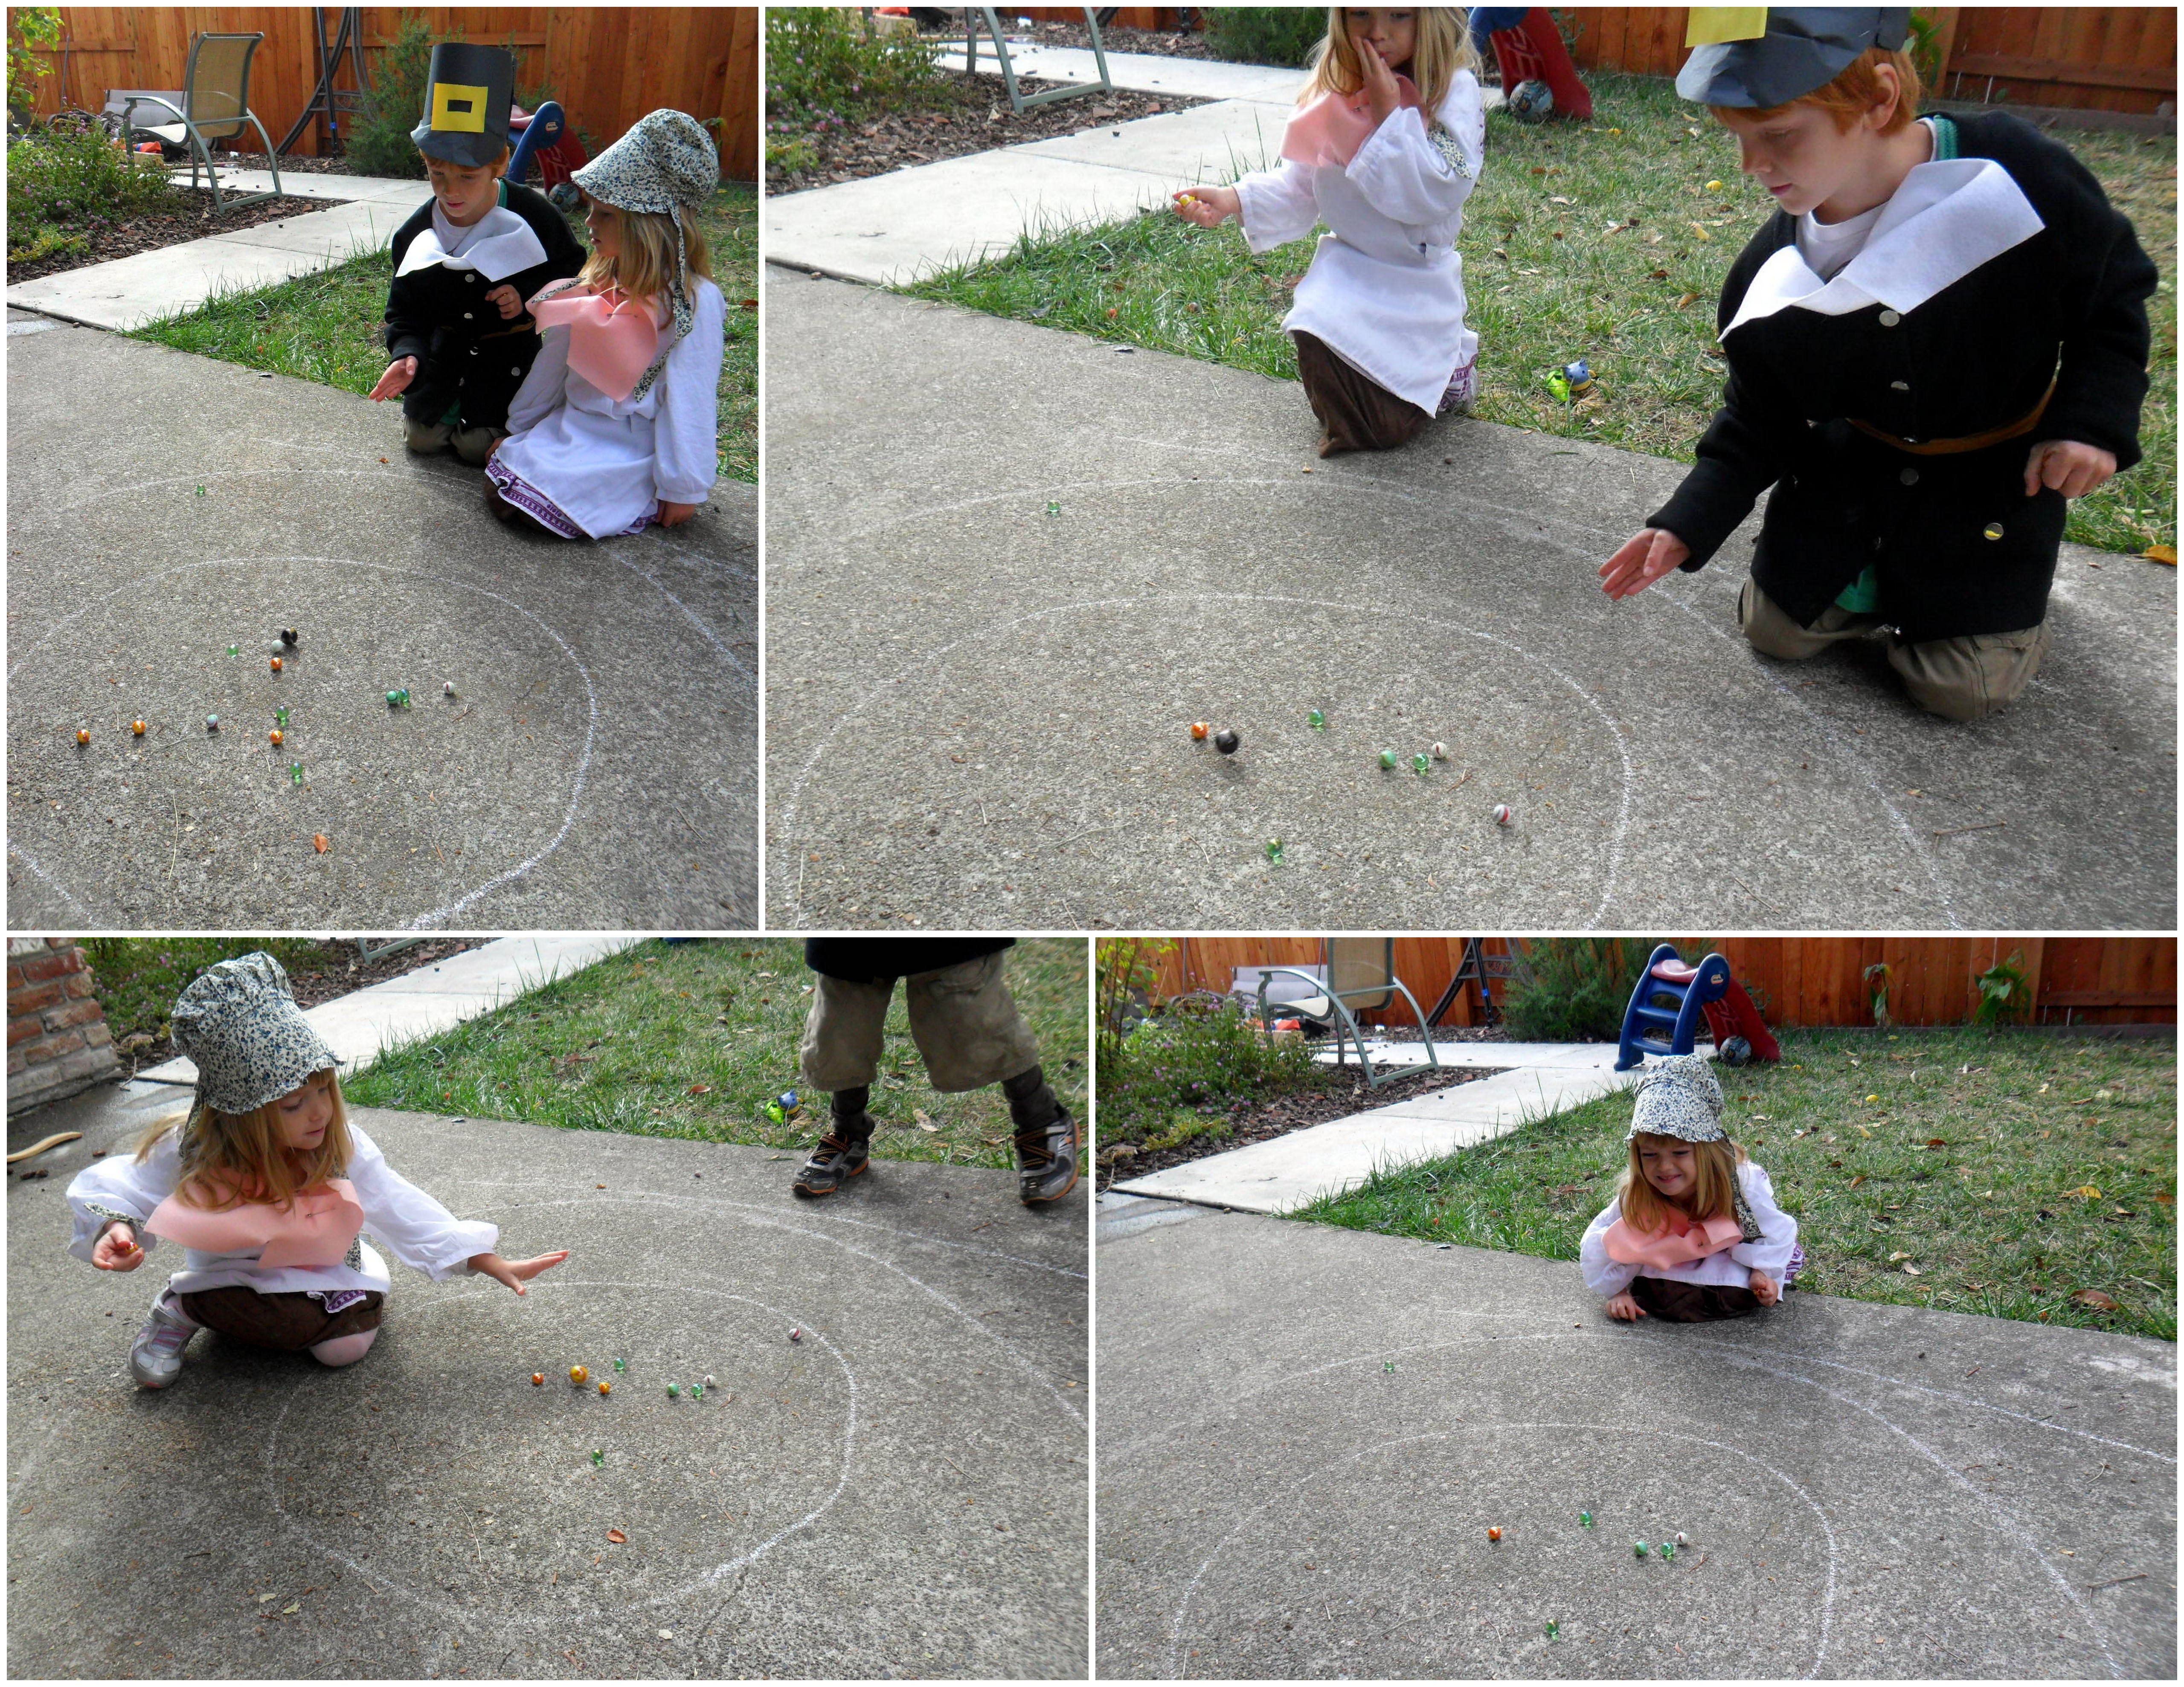
4.  We made Greek costumes with thrift store pillow cases, scissors, saftey pins, ribbons, and scarfs or strips of cloth.  I thought Z-urchin looked especially stately.  Like a Greek politician.  And my little princess like Helen of Troy.

Greek A

Greek 3

Greek 5

Greek 4

Greek 65.  We played a more modern version of an Ancient Greek version of hockey.  That is to say, I read that they used to play a hockey like game, hitting a ball with sticks.  So that’s what we did.

Greek 7

6.  Finally, we learned the Greek alphabet using two YouTube videos (a Song and a Lesson) and wrote our names with Greek letters.

The Song

The Lesson (really impressive- teaching the Greek alphabet using a story- my kids were totally into it)

Greek F

Then they watched Hercules on Netflix (totally inaccurate, but fun anyway- and they were excited about the red pots painting with black that were all over the movie!) and we played Seven Wonders.


The Handicraft that Got My Kids Excited about Books

HandicraftEver since I saw an idea like this for rain gutter bookshelves, I’ve wanted them.  I thought it would be awesome to have each child have their own little bookshelf space for their favorite books.  We have plenty of bookshelves around the house, but it is dificult to see all the books that are there.  So I thought having a little shelf of their own, to put the books they got for Christmas or their birthdays, in a place that was easy to reach and easy to see might encourage my kids to enjoy books more.

I mean, they love books.  They love it when I read them stories.  But I would like to encourage some independent reading and some independent book perusing (for the non-readers in the home).

However, I will just admit to you that the DIY Pinterest Project Magic does not reside in me.  For both my husband and I, our talents lie elsewhere, far outside the region of handiness or craftiness in home projects.  So I knew better than to really make any effort toward the rain gutter bookshelf idea.

Along those lines, I am not a particularly crafty person (I love scrapbooking, but that’s about it).  So although, as a Charlotte-Mason-style-of-homeschooling fan, I think Handicrafts are a good idea, I’m not all that great at doing handicrafts with my kids.  (I found this blog post recently and am newly inspired in this area, though!)

Anyway, the other day, I was at my friend’s house.  She had these little Ikea wall shelves– spice racks, as they are called on Ikea’s website.  She had them all over her home, several of them holding books.  These are just what I was looking for!  They are the perfect size for each child to have their own personal bookshelf. So I went home and ordered ten of them.  One for each child, and several for our living room and school room.

Two days ago, they arrived.  They came in little packages of 11 pieces: a base shelf, a stick, two side pieces, four screws, two wooden pegs, and an allen wrench.  In my excitement, I looked at the instructions and immediately put one together.  What?  A DIY project even I could do!  And if I could do it, my kids could do it.  Handicrafts are supposed to be useful and add beauty to our lives.  And learning to put together a shelf from a kit with instructions is totally a useful life skill.  Time for a Spontaneous Handicraft Class! 8 April 20151 I called all the kids- from my almost 8 year old down to the 2 year old- to gather in the living room.  I gave a package to each kid and took one for myself.  I demonstrated how to put together the shelf as they watched and then I helped the 2 year old assemble his (though I was pretty impressed with how far he could get on his own) as the 4 year old, 6 year old, and almost 8 year old got to work.

They assembled these shelves with great ease and enthusiasm and then were so excited that they had made a shelf of their very own.  They proceeded to go to the bookshelf and rifle through the books to find their favorites to put on their very own bookshelf.  The next hour they spent looking through books!  Success! X-man's Shelf

A Pilgrim Study

2 October 201310The last couple of weeks we have been studying the Pilgrims.  Our final day, we had a Pilgrim Celebration Day and did all sorts of fun activities.

1.  The Books We Read:

A good unit study includes several great books.  We read several throughout the course of our studies.

Pilgrim- booksPilgrims of Plimoth by Marcia Sewall- This story was told from the perspective of a pilgrim, so it worked out very well that we “time traveled” to Plymouth Plantation and I dressed up like a pilgrim and read the book to them, as if from my own experience.  It was informative and interesting.  And the kids loved my pilgrim outfit.  My daughter kept asking me personal questions about my children, home, and clothing, so it was a good thing I read ahead.

N.C. Wyeth’s Pilgrims– Mostly we just looked at the pictures and discussed the events that they depicted.  It was a good book for doing art and history together.  While looking through it, I had the kids search for certain objects in the paintings.  It was a good observation exercise.

Sarah Morton’s Day, Samuel Eaton’s Day, Tapenum’s Day– These were wonderful stories of what children did in those days.  It helped my children be able to relate more to these people of long ago.

Pilgrim Stories by Margaret Pumphrey- This book tells little episodes in the lives of the Pilgrims from when they were in England, through their time in Holland and then off to the New World.  We have been enjoying it and will finish around Thanksgiving- perfect timing, you’d think I’d planned it that way.

2.  Pilgrim Activities:

We dressed up like pilgrims.

2 October 20139

We did pilgrim chores.  They gathered sticks for our fire, fetched water to wash and to water our garden, washed cloth articles (they were towels), gathered pine needles and leaves to stuff their baby sisters’ mattress, churned cream to make butter and fed chickens and chased them back into their pen when they escaped (this last chore was all pretend, but it was their favorite chore that they read about, so they just had to do it).

Gathering sticks, fetching water, feeding chickens

Gathering sticks, fetching water, feeding chickens

Stuffing their baby sisters' mattress- they slept all day comfortable by the fire

Stuffing their baby sisters’ mattress- they slept all day comfortable by the fire

Making butter- it was delicious

We worked together to make butter- it was delicious

We also played a few games the pilgrim children played when they had time.  We played Naughts and Crosses (Tic Tac Toe in the dirt), Hop Frog, and Marbles.

2 October 201314

Naughts and Crosses and Hopfrog

Marbles was their favorite game

Marbles was their favorite pilgrim game

3.  Crafts.  We made candles (another chore the pilgrims did- I got the idea from Dresses and Messes.)

We all loved this activity

We all loved this activity

2 October 201319

We also made lapbooks.

2 October 201315We include minibooks or cards about the route of the Mayflower, the reason for leaving England, what they brought with them on the ship, Pilgrim children’s chores, Pilgrim children’s games, life at Plymouth Plantation, crops grown by the pilgrims, the first Thanksgiving and Squanto’s help.

2 October 20138

4. Food.  We ate a modernized Pilgrim meal of succotash and corn bread with our homemade butter.  We also had fun making pilgrim hat cookies.  We all enjoyed those delicious treats.  I think we’ll make these again in a few weeks for Thanksgiving.

Our modern Succotash:

1 can cream of corn

1 lb ground beef

2 cups kidney beans (or 1 can)

1 onion chopped

1 tb oil

Cook the onion in oil until translucent, add the ground beef and brown.  Add the beans and cream of corn and cook until heated through.  Serve with corn bread.

Pilgrim- lunch

2 October 201316

2 October 201317We had fun and learned some.  A good combination I think!

Fall Fun Day with Apples

Apple FunLast Sunday, we celebrated the first day of Fall with an afternoon of apple picking.  We came home with about 20 pounds of apples.  I thought it would be fun to have an Apple Day.  So on Friday, that’s what we did.

We started our day by reading the Parable of the Sower in Matthew 13.  The musical story of Antshillvania we have on CD has a charming song retelling this parable, so we listened to that too.

Of course, we read Johnny Appleseed and then headed to the kitchen for our snack of apple slices, crackers and cheese.  I cut the apple horizontally instead of vertically to starry slices (they were pretty impressed and that was fun).  While they munched, I read to them about the life cyce of the apple.  We then drew our own apple life cycles on construction paper.September 2013

September 20131

Linked on the last Outdoor Hour Challenge newsletter was a tutorial on how to make chalk pastel apples (or pumpkins) from Hodgepodge.  We all watched the video tutorial together and then created our own pastel apples.

September 20132

Wow, the kids had a blast.  They loved using the pastels.  I can see this is a medium we will need to explore some more.  Our apples are hanging on our whiteboard- lovely little fall decorations in our schoolroom, which is also known as our kitchen.

September 20133

Finally, we used a few of our hand picked apples to make apple crisp with an oatmeal streusel topping.  It was fun to work together and the result, accompanied by vanilla ice cream, was delicious.

September 20134


It was refreshing- as refreshing as a crisp apple on a warm, sunny, fall day- to have a change of pace in the school week.  My students were enthusiastic, my preschoolers could join in the fun, and it was an delightful break from our regular studies.  As I reflect on this, I am thinking my children would enjoy selecting a topic for a day like this- a mini-unit day.  I wonder what they would pick.

I’ve accomplished half of the goals from my “Fall Bucket List” with plenty of time left in the season to complete the rest.  Perhaps in a few weeks we’ll have a pumpkin day.

It’s Pumpkin Season

I absolutely love the scents and flavors of fall: the cinnamon and spices, the applesauce & apple cider, chai tea, and pumpkin pie!  Fall is quickly passing- stores are already displaying Christmas goods and playing Christmas music, so I need to get my fill of these treats before it’s time to move on to mint hot chocolate, wassail, and gingerbread.

Last month, we took a trip to a local pumpkin patch and had all kinds of autumn fun.  Each child selected a Sugar Pie Pumpkin to take home.  In the last few weeks, I’ve managed to figure out how to cook and puree the pumpkins so that we could bake some delicious fall pumpkin treats.

How to Bake a Pumpkin:

1.  Cut the pumpkin in half.

2.  Dig (and scrape) the seeds and stringy stuff out of the pumpkin with an ice cream scoop.

3.  Place each half in a baking dish in a half inch of water

4.  Bake it in a 375 degree oven for 60 minutes or until tender

5.  When the pumpkin is cool enough to handle, scoop out the flesh and mash or puree it (I used our Beaba Babycook– one of those baby appliances I would not like to live without!)

Pureed Pumpkin, thanks to our Beaba!

I was told on several websites that I should save the seeds, wash them, dry them on paper towels, and then use them for planting or roasting.  I found a recipe for maple-spiced roasted pumpkin seeds and it sounded quite tasty.  However, let me tell you, step number 3 is all wrong.  Do NOT use paper towels!  The pumpkin seeds stuck horribly and I had to rub paper towel bits off of each seed.  This was a lot of work and took a lot of time (and time in this household with four small children is quite precious).

Do NOT try this at home! Don’t use paper towels to dry them on unless you want to spend a LOT of time peeling paper off each seed.

Well, I labored over each seed and then was quite excited to try out the roasting recipe.  Unfortunately, I must not have let them dry thoroughly because when I placed them in a baggie to save for roasting in a few days (when I had time for such a project), they got covered in mold.  Grrrr.   I decided not to attempt this again with the next two pumpkins.  Maybe next year.  After I do a bit more thorough reading on this process.

However, I did end up with several cups of frozen pumpkin puree and I have have used about half of it so far for pumpkin bread (with chocolate chips in it!) and pumpkin pie.  Both were quite the hit with my children.  Even my husband, who is not a big pumpkin pie fan, thought the pumpkin pie was good.  I used my mom’s spiced pumpkin pie recipe and truly, it is delicious. The only thing I need to do differently next time is the crust.  I got a pie crust mix in a box and it had directions for a no-roll pie crust.  I thought it would save time and effort.  Nope.  Next time, I will roll out the crust.

Mom’s Spiced Pumpkin Pie:

The crust was a bit unattractive, but the pie was delicious and the pumpkin was just the right texture.

Ingredients:

1 3/4 cup (or 1 can) pumpkin

2 beaten eggs

1 cup sugar

1/4 tsp allspice

1/2 tsp salt

1/2 tsp cinnamon

1/2 tsp ginger

1/8 tsp cloves

3/4 cup milk

This slice was served on a football plate- which is totally Thanksgiving-thematic!

Steps:

1.  Preheat oven to 350 degrees

2.  Stir pumpkin into beaten eggs

3.  Blend sugar, salt, and spices and add to pumpkin mixture

4.  Gradually stir in milk

5.  Pour into 9 inch pastry shell

6.  Bake until knife comes out clean (45-60 minutes)

Making Maracas

We made maracas this month

In our studies of Mexico during the past few weeks, we have been working on making paper mache maracas.  They are finally finished!  Here’s what we did:

1.  Made a paper mache paste with flour and water.

2.  Placed beans and rice in a balloon and then blew it up to the size we wanted our maracas.

3.  Attached two jumbo craft sticks to the balloon.

4.  Tore a few newspaper pages into strips.

Princess K was totally into the paper mache paste- she loved it

5.  Used the paste to cover the balloon with the newspaper strips.

6.  Let it dry in the sun (it was one of our very, very hot October-in-California days, so it dried quickly).

7.  Popped the balloon.  (I was told a long sharp needle would do it, but it didn’t.  I ended up having to cut a flap into the maraca and use scissors to open up the balloon.  Then I taped the flap closed.)

8.  Painted the maracas with red, green, and white paint.

9.   Let it dry.

10.  Shake, shake shake!  (When the rice and beans started sprinkling out, then- tape, tape, tape!)

X-man was not as excited about getting sticky and messy.

Painting with white, red, and green

Intent on his task

All done! Shake, shake, shake!